
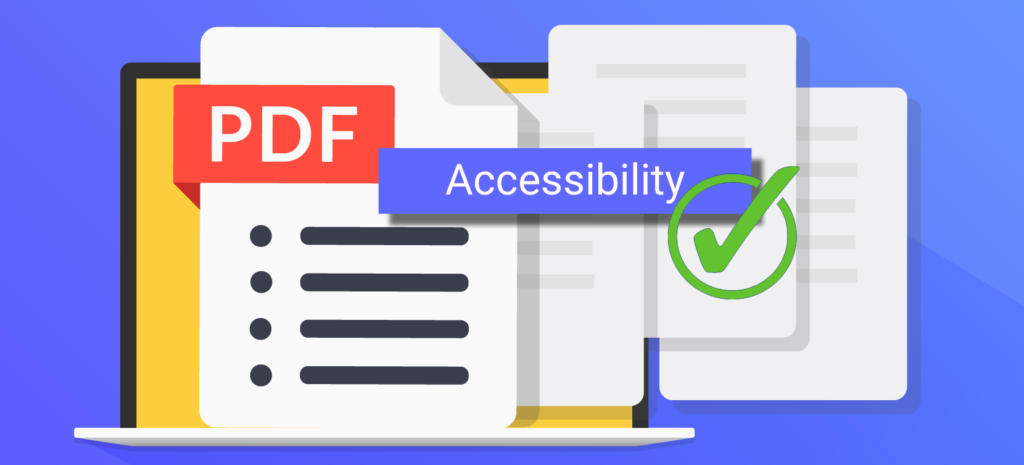
In today’s digital world, making sure everyone can access information is really important. School websites often use PDFs to share important stuff, but they can be hard for some people to use. This guide will show you how to make PDFs accessible on your school’s website, so everyone can use them easily.
Understanding Accessibility Requirements
Before we get into making PDFs accessible, let’s understand why it’s important. Accessibility means making things easy for everyone to use, including those with disabilities. For school websites, it’s not just a rule; it’s about making sure everyone, like students, parents, and staff, can easily get the same information and resources.

Step 1: Understand Accessibility Needs
Let’s start by talking about why accessibility is important. Accessibility means making sure everyone, including people with disabilities, can easily use and understand your document. This includes things like being able to read the text, move through the document, and interact with any elements.
So, when we say we want to make a PDF accessible, we mean we want to make it easy for everyone to access and use, no matter what challenges they face.
To do this, it’s essential to understand what different people might need to make the document accessible to them. For example, someone who can’t see might need the text read out loud to them, while someone who can’t use a mouse might need to navigate using their keyboard.
Moreover, Read this blog as well: Digital Plans for Study in India
By understanding these needs, we can make sure our document is accessible to everyone, not just those without disabilities.
Step 2: Prepare Your Document
Now that we understand why accessibility is important, let’s talk about how to prepare our document to make it accessible to everyone.
The first thing we need to do is make sure the text in our document is clear and easy to read. This means using a simple font, like Arial or Times New Roman, and making sure the text is big enough for everyone to see comfortably.
Next, we need to organize our document so that it’s easy for people to find what they’re looking for. We can do this by adding headings to our document. Headings help to break up the text and make it easier to navigate. Use headings like “Heading 1,” “Heading 2,” and so on to create a clear structure.
Finally, we need to add alt text to any images in our document. Alt text is a short description of the image that appears when someone can’t see it. This helps everyone understand what the image is about, even if they can’t see it themselves.
Step 3: Add Alternative Text to Images
Now that we’ve prepared our document by making the text clear and organizing it with headings, let’s talk about how to make images accessible.
Many documents, including PDFs, contain images that help illustrate information or ideas. However, for people who can’t see these images, it’s important to provide an alternative way for them to understand what the image is showing.
This is where alternative text, or alt text, comes in. Alt text is a short description of the image that can be read out loud by screen reader software or displayed to users who can’t see the image.
To add alt text to an image in your PDF, you’ll need to use the editing tools available in your PDF software. Simply select the image, right-click, and choose the option to add alt text. Then, type a brief description of the image that conveys its essential meaning.
For example, if your document contains a graph showing the results of a survey, your alt text might say something like, “A bar graph showing the results of a survey, with percentages displayed on the y-axis and different categories on the x-axis.”
By adding alt text to your images, you ensure that everyone, regardless of their visual abilities, can understand the content of your document. This helps to make your document more accessible and inclusive for all users.
Step 4: Ensure Readable Text
Now, let’s focus on making sure the text in our document is easy to read. When creating a PDF, it’s important to use clear and simple fonts like Arial, Times New Roman, or Calibri. These fonts are easy for everyone to understand.
Want to read about Steps to redesign School website, Click Here.
Next, make sure the text is big enough to read comfortably. A font size of at least 12 points is recommended for printed documents. If your document will be viewed on screens, consider using a slightly larger font size to ensure readability.
Also, pay attention to the contrast between the text and the background. Text should be a dark color on a light background, or vice versa, to make it easy to see.
Avoid using text that’s part of an image because screen readers can’t read it. Instead, use actual text wherever possible so it can be read aloud by screen reader software.
By making sure the text in your document is clear and easy to read, you help make your document accessible to everyone, regardless of their visual abilities.
Step 5: Organize Content with Headings
Next, let’s talk about organizing the content of your document with headings. Headings help break up the text and make it easier for people to find what they’re looking for.
Start by adding headings to your document using styles like “Heading 1,” “Heading 2,” and so on. Use these headings to create a clear structure for your document, with main headings for major sections and subheadings for smaller sections within those.
When adding headings, think about the hierarchy of your content. Make sure each heading accurately reflects the content that follows it and that the hierarchy makes sense.
By organizing your content with headings, you make it easier for everyone to navigate your document and find the information they need.

Step 6: Add Alt Text to Images
Finally, let’s make sure the images in your document are accessible to everyone. Many people rely on screen readers to access digital content, so it’s important to provide alternative text, or alt text, for images.
Alt text is a brief description of the image that’s read aloud by screen readers. To add alt text to an image, simply right-click on the image, select “Edit Alt Text,” and then type a short description of the image.
Make sure your alt text accurately describes the content or purpose of the image. Keep it concise but descriptive, so people understand what the image is conveying even if they can’t see it.
By adding alt text to your images, you ensure that everyone can access and understand the content of your document, regardless of their visual abilities.
Read this blog as well : Short-Term Courses for Teachers.
Conclusion
Well done on making your school’s PDFs accessible! You’ve learned how to ensure everyone can access and benefit from your website’s content. Now, let’s put this knowledge into action and make your PDFs inclusive for all users.
Click here to learn more about creating accessible PDFs and making sure they meet accessibility standards. Let’s build a more inclusive digital environment for your school community together!